PDFs or Portable Document Format files have become increasingly popular in recent years, as they are an excellent way to share documents without worrying about compatibility issues. However, sometimes we need to modify a PDF file, which is where PDF editors come in.
Copychecker’s PDF editor is one that not only allows you to edit a PDF document but also to add or remove pages as needed. In this article, we will discuss how to insert pages into a PDF using the Copychecker PDF tool.

Insert Pages into a PDF
One of the most common tasks you may need to do when working with a PDF file is adding pages to an existing document. Copychecker makes this task easy by providing a simple interface to insert pages into a PDF file.
ᴀᴅᴠᴇʀᴛɪsᴇᴍᴇɴᴛ
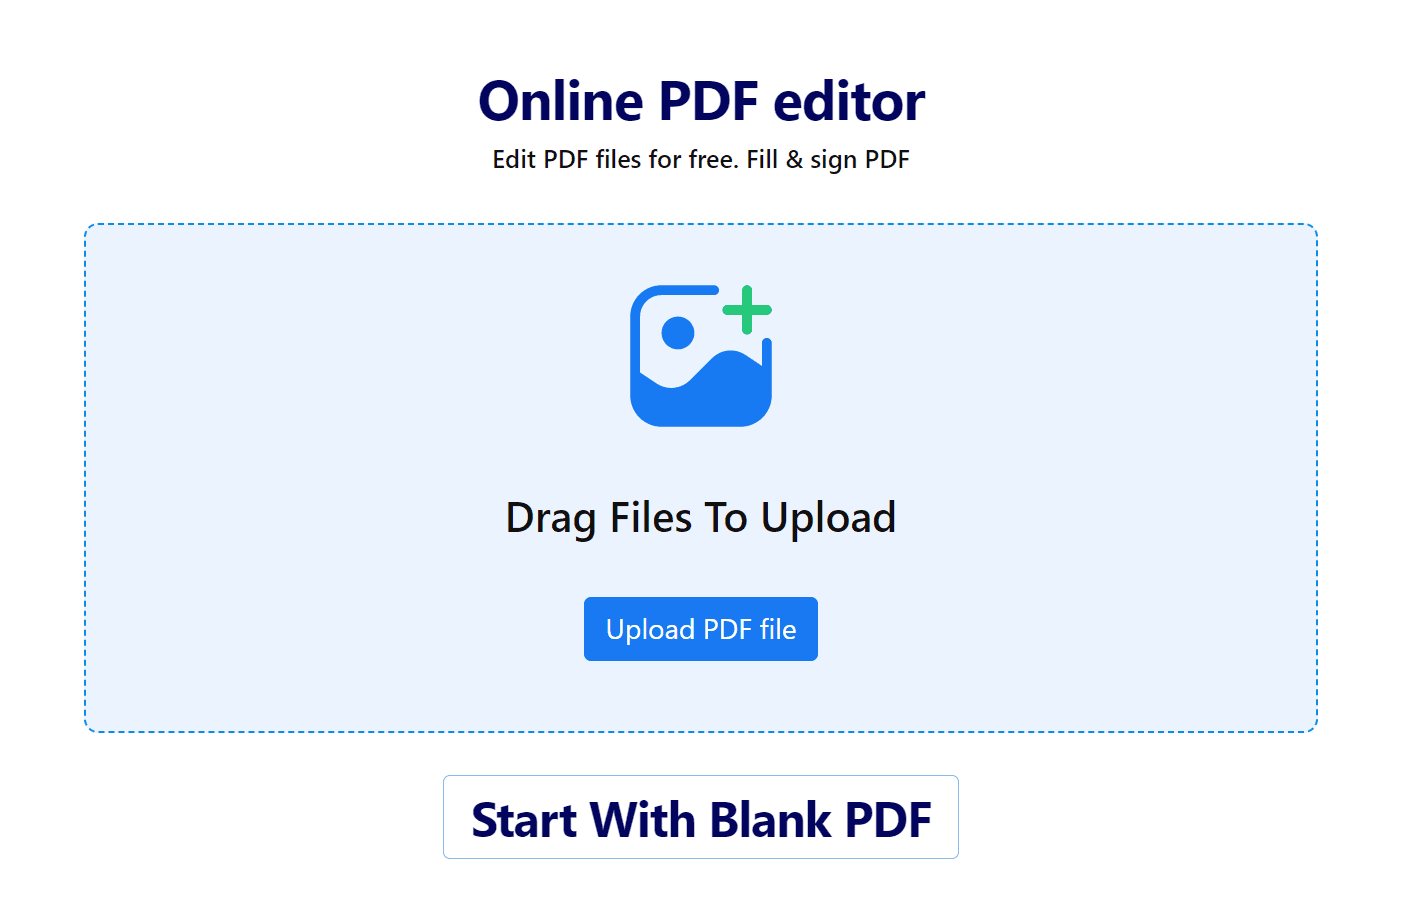
To insert pages into a PDF file, open Copychecker and upload the PDF file you want to modify. Then, click the "Insert Pages" option above every page.
This will add a new blank page in the file to add any text and images.

A step-by-step guide to adding pages in Copychecker PDF Editor
We will walk you through the process of inserting pages into a PDF file using Copychecker PDF Editor.
Step 1: Launch Copychecker PDF Editor

To insert pages into a PDF file using Copychecker PDF Editor, you need to launch the tool first. Once the application is launched, you can open the PDF file that you want to edit by clicking on the "Open File" button.
Step 2: Navigate to the insert page button

Once you have opened the PDF file, you need to navigate to the insert page button. The insert page button is located on the top of every page in the pdf. You can access it by clicking on the page button.
Step 3: Select the Page after which you want to insert a New Page
You can see all the pages of the PDF file. You need to select the page after which you want to insert a new page. To do this, you can simply click on the page that you want to add the page after.
Step 4: Insert a New Blank Page
`

To insert a new blank page after the selected page, you need to click on the insert page button after that select the "Insert Blank Page" button.
Step 5: Save the Edited PDF File

Once you have inserted the pages, you can add anything you want, and you just need to save the edited PDF file. To do this, click the "Apply Changes" button at the bottom of the browser window. Then simply download the updated pdf.
ᴀᴅᴠᴇʀᴛɪsᴇᴍᴇɴᴛ
Deleting Pages
Organizing your PDF document often involves tasks like removing unnecessary pages to streamline its content, which can be done effortlessly with our intuitive tool.
Copychecker makes this task easy by providing a simple interface. To delete pages from a PDF file, click the "Delete Page" option in the left-hand panel. This will open a new window that displays all the pages in the PDF file.
To delete a page, simply select the page and click on the "Delete" button.
Adding Digital Signatures
In addition to inserting pages into PDF files, Copychecker PDF Editor also allows you to add digital signatures to your PDF files. Adding digital signatures to your PDF files can help you ensure that your documents are authentic and have not been tampered with.
Here are the steps to follow when adding digital signatures to your PDF files using Copychecker PDF Editor:
- Click on the “Sign” button at the top of the PDF.
- Type your name in the text field, either you can Draw OR Upload your signatures.
- Now place the signature at your desired place in the document.
- Save the changes and download the updated PDF document.
Adding digital signatures to your PDF files using Copychecker PDF Editor is a straightforward process that can help you ensure your documents are authentic and secure.
With this feature, you can sign PDF files digitally without having to print them out and sign them manually. This can help you save time and increase your productivity
FAQs:
How to add pages to a PDF for free?
To add pages to a PDF document using Copychecker, click the "Insert Page'' button above each page. This will allow you to add empty pages or a scanned image.
How to sign a PDF?
To sign a PDF document using Copychecker, click the "Sign" button from the options panel. This will open a new dialogue box that allows you to create a signature using your mouse, trackpad, or stylus.
You can also use an image of your signature if you have one. Once you have created your signature, you can add it to the desired location in the PDF document.
How to add pages to a PDF on Mac?
Adding pages to a PDF on Mac using Copychecker is similar to the process on other platforms. Simply click on the "Insert page'' option above each page.
How to remove pages from a PDF?
To remove pages from a PDF document using Copychecker, click the "Delete" option located in the left-hand panel.
How to write on a PDF?
To write on a PDF document using Copychecker, click the "Text" option located on the top panel. This will allow you to add text to the PDF document by typing it directly into the document viewer.
You can customize the font, size, color, and other formatting options. You can also move the text around and resize it to fit your needs.
ᴀᴅᴠᴇʀᴛɪsᴇᴍᴇɴᴛ
Final Thoughts:
In conclusion, Copychecker makes it easy to insert pages into a PDF document and perform other common tasks such as adding pages, deleting pages, and adding signatures.
The user-friendly interface and intuitive design make it easy for users to modify PDF documents without needing specialized training. If you need to modify PDF documents frequently, then Copychecker is a must-have tool for your toolkit.


